This section equips you with all the tools and guidance needed to effectively manage your customers' services within the Antyxsoft Cloud Portal. From activating and updating subscriptions to handling cancellations and billing preferences, you'll find step-by-step instructions and best practices designed to ensure a seamless experience - for both you and your clients. Whether you're onboarding new customers or adjusting existing plans, this is your central hub for complete subscription lifecycle management.
What type of customer account should I create: Organization or Individual?
When creating a new customer account, you can choose between two types based on your client’s profile:
Organization – Select this if your customer is a company, business, or legal entity with multiple users or teams.
Individual – Choose this if your customer is a freelancer, solo professional, or operates independently without a corporate structure.
Choosing the correct account type ensures accurate billing, access control, and service provisioning.
How can I create an account for my customer, who is an organization?
Creating a new customer account in the Antyxsoft Cloud Portal is quick and straightforward. Follow the steps below to onboard your customer and activate their services:
Step-by-step Instructions:
Log in to the Antyxsoft Partner Portal.
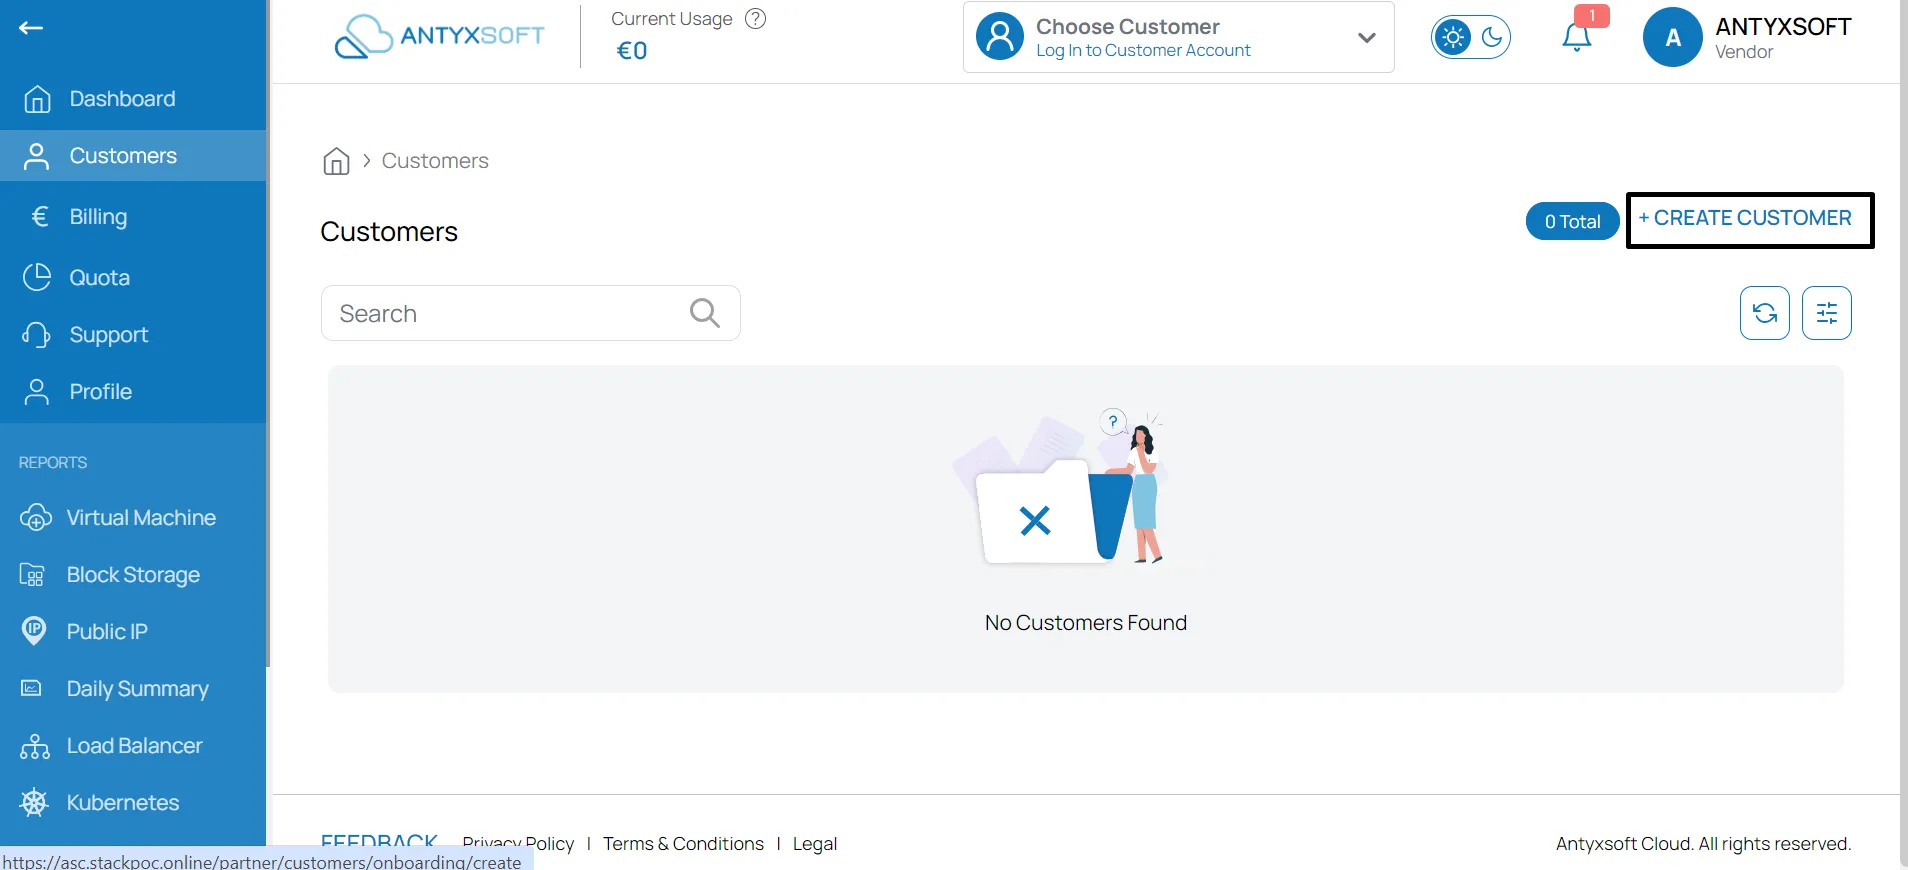
In the left-hand menu, navigate to Customers-> +CREATE CUSTOMER.

Select Account Type: Organization and fill in Customer's Name and Phone.

When creating a new customer account (either Organization or Individual), you must provide a valid email address. This email will be used by the customer to log in to the Antyxsoft Cloud Portal.
Password Setup Options
After entering the customer’s email, you can choose one of the following methods to set their password:
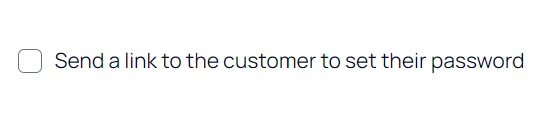
- Send password setup link to the customer (Recommended) A secure email will be sent to the customer allowing them to create their own password.

- Generate a temporary password A system-generated password will be assigned. Share this with your customer manually.
- Manually set a password You can enter a temporary password yourself.
Choosing the first option ensures maximum security and ease of onboarding.
When creating a customer account, you only need to fill in the fields marked with an asterisk (*). These are the essential details required to activate the account.
Since Antyxsoft bills only the Partner - not the end customer - there is no need to fill in billing-related fields for the customer.
At a minimum, make sure to provide:
- Customer’s organization name
- Address
- Phone number
- Login email (used by the customer to access the platform)

You can skip optional billing fields such as VAT number, billing contact, or payment method details. These apply only to the partner account.
Final Options Before Creating the Account
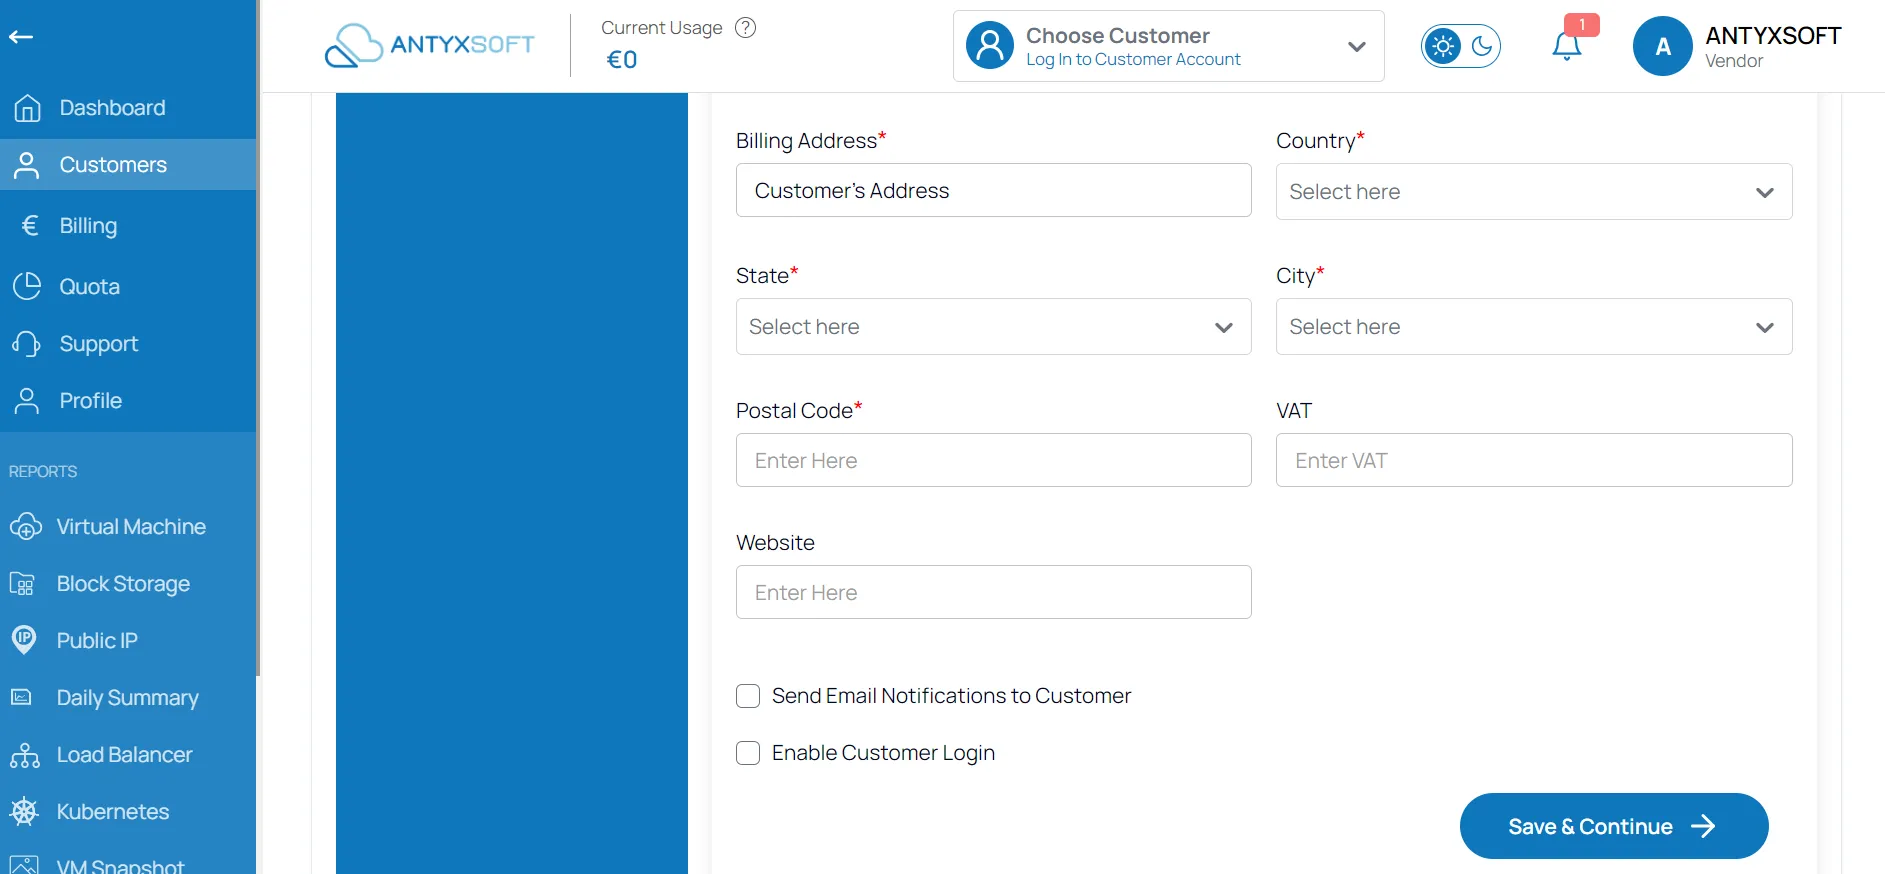
Before clicking “Save & Continue,” make sure to review the two optional settings:
- Send email notifications to the customer Enable this if you want the customer to receive system notifications (e.g. password reset, resource alerts).
- Enable customer login Check this to allow the customer to access the platform using the email and password you defined.

Click “Save & Continue” to finalize the setup.
Confirm and Access Customer Dashboard
After creating the account, you’ll be redirected to a Customer Account Overview page. Review the customer's details to ensure everything is correct, then click Continue.

Once created, you’ll be redirected to the customer’s dashboard, where you can manage their subscriptions, assign services, and view billing information.
How can I create an account for my customer, who is individual?
Creating a new customer account in the Antyxsoft Cloud Portal is quick and straightforward. Follow the steps below to onboard your customer and activate their services:
Step-by-step Instructions:
Log in to the Antyxsoft Partner Portal.
In the left-hand menu, navigate to Customers-> +CREATE CUSTOMER.
Select Account Type: Individual and fill in Customer's Name and Phone.
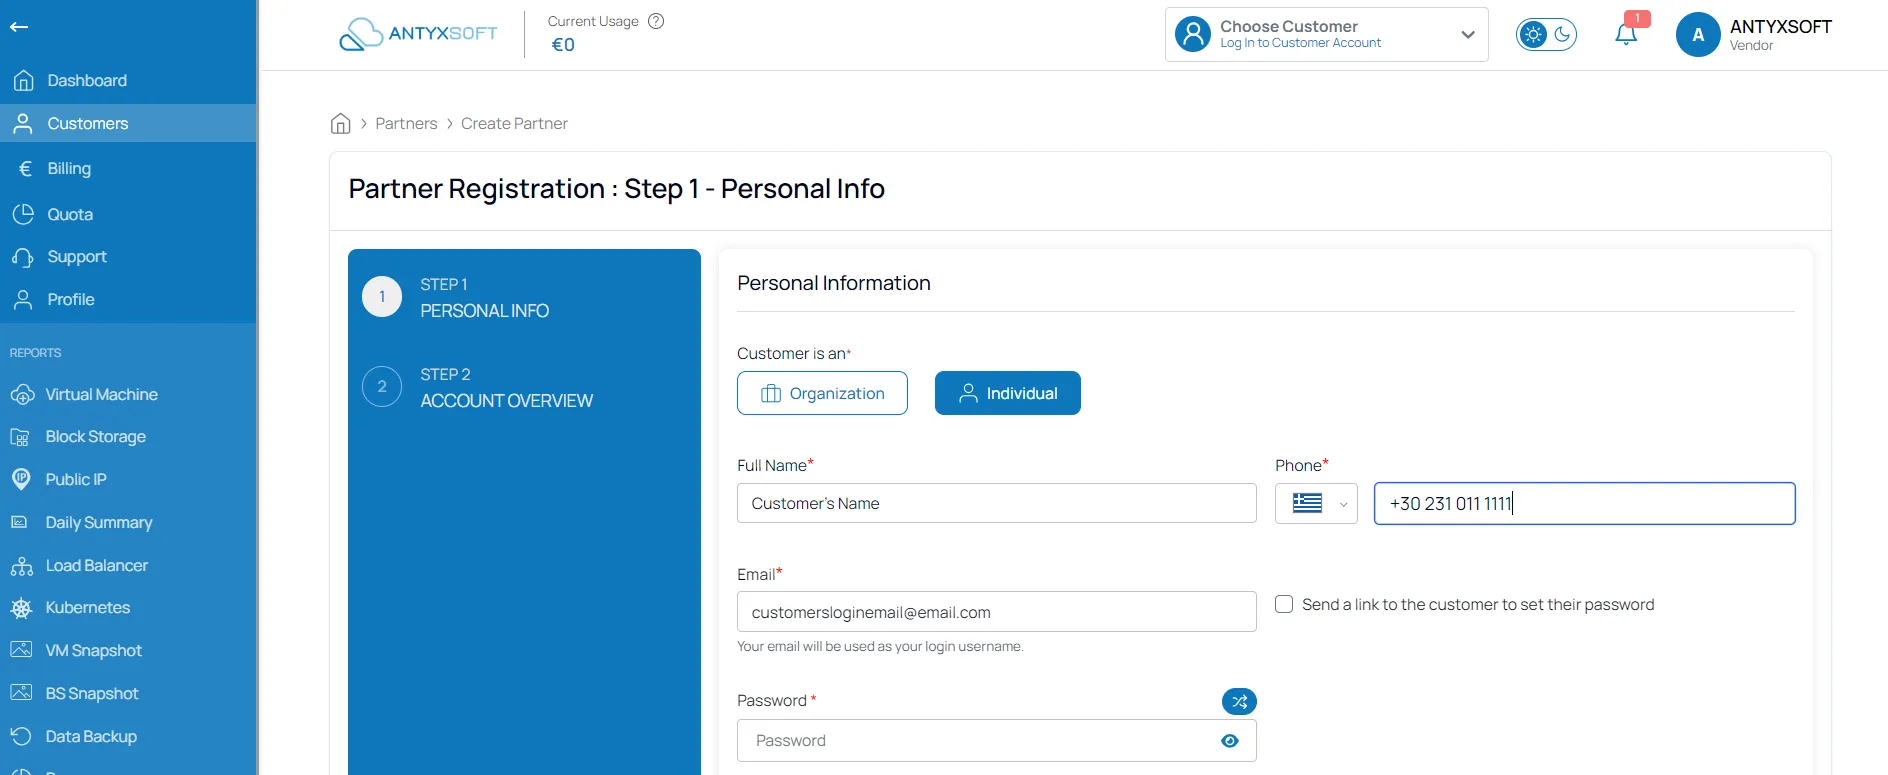
When creating a new customer account (either Organization or Individual), you must provide a valid email address. This email will be used by the customer to log in to the Antyxsoft Cloud Portal.
Password Setup Options
After entering the customer’s email, you can choose one of the following methods to set their password:
- Send password setup link to the customer (Recommended) A secure email will be sent to the customer allowing them to create their own password.
- Generate a temporary password A system-generated password will be assigned. Share this with your customer manually.
- Manually set a password You can enter a temporary password yourself.
Choosing the first option ensures maximum security and ease of onboarding.
When creating a customer account, you only need to fill in the fields marked with an asterisk (*). These are the essential details required to activate the account.
Since Antyxsoft bills only the Partner - not the end customer - there is no need to fill in billing-related fields for the customer.
At a minimum, make sure to provide:
- Address
You can skip optional billing fields such as VAT number, billing contact, or payment method details. These apply only to the partner account.
Final Options Before Creating the Account
Before clicking “Save & Continue,” make sure to review the two optional settings:
- Send email notifications to the customer Enable this if you want the customer to receive system notifications (e.g. password reset, resource alerts).
- Enable customer login Check this to allow the customer to access the platform using the email and password you defined.

Click “Save & Continue” to finalize the setup.
Confirm and Access Customer Dashboard
After creating the account, you’ll be redirected to a Customer Account Overview page. Review the customer's details to ensure everything is correct, then click Continue.

Once created, you’ll be redirected to the customer’s dashboard, where you can manage their subscriptions, assign services, and view billing information.
How can I activate a subscription for a new customer?
Once a customer account has been created, you can activate their first subscription directly from their customer dashboard.
- Log in to the Antyxsoft Partner Portal.
- From the top menu, click Choose Customer and select the customer you want to activate a subscription for.

- You’ll be redirected to the Customer Dashboard.
- From here, follow the steps based on the specific service you want to provision.
Each service may have different configuration options (e.g., plan type, resource limits, region), so the setup flow may vary depending on the product.
Tip: If you're unsure about the subscription options for a particular service, refer to the product documentation or contact your Partner Success Manager.
If customer login is enabled, they’ll receive access to manage or monitor their subscription through the Antyxsoft Cloud Portal.
How can I manage my customers’ subscriptions?
You can easily view and manage all of your customers' subscriptions through the Admin Panel in the Antyxsoft Partner Portal.
Steps to manage subscriptions:
- Log in to the Antyxsoft Partner Portal.
- Navigate to Billing (left side menu)-> Subscriptions tab.
There, you’ll find a complete list of all active, inactive, and scheduled-for-deletion subscriptions across all your customers.
Subscription Status Types:
- Active – The subscription is running and billed according to its cycle.
- Inactive – The subscription has been manually deactivated.
- Scheduled for Deletion – The subscription is marked for termination at the end of the current billing cycle or on a specific date.
Can I change a customer's plan after activation?
You can upgrade a customer's subscription plan after activation, but:
- You cannot downgrade to a lower plan
- You cannot change the billing type (e.g., from Monthly to Annual or vice versa)
If you need to change the billing type, you must cancel the current subscription and create a new one with the desired cycle.
For details on how to upgrade a subscription, see VM Settings.
How to track customer usage and subscription status?
You can monitor your customers’ subscription activity, status, and resource usage directly from the Antyxsoft Partner Portal.
To track usage and status:
- Log in to the Partner Portal.
- Go to to the Dashboard.
- Navigate to Billing -> Subscriptions.
- In the Subscriptions section, you’ll see:
- Current status (Active, Inactive, Scheduled for Deletion)
- Plan details and billing cycle
- Usage metrics (depending on the service, e.g., storage used, compute hours, etc.)
- Start/end dates, next billing date, and status history
Pro tip: Use filters to sort subscriptions by customer, status, or service type for faster navigation.